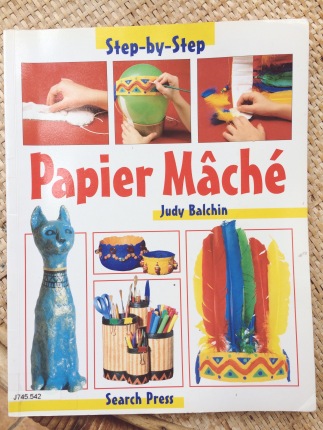
After choosing this book by Judy Balchin at our local library M looked through it and choose to make a golden goblet.

We started by constructing the shape of the goblet. We cut a plastic bottle in half, discarding the bottom half. We used masking tape to attach a cardboard circle to the top of the bottle. We then turned it upside down, this gave us the shape.
We ripped up a lot of newspaper into tiny pieces and added mixture of PVA glue and water. We let it soak for about 30 minutes and then squeezed out the excess water. We then used this paper mâché to cover the goblet.
When the paper mâché had dried M used an acrylic gold paint to cover the inside and outside of the goblet.
When this had dried it was time to stick on the glass beads. We initially tried sticking these on with glue dots, but they kept falling off. We then used a combination of Evo Stik and super glue which seemed to work well.

Having written down the process it seems very straight forward and I’m not really sure why it took months to complete this project. Waiting between each stage meant that the process couldn’t be completed all in one day and many weeks lapsed between each stage!
M was very pleased with the final outcome. Now it’s time to get finishing some of those other projects we have lying around the house!

What projects have you undertaken with or without children that lasted way too long? I’d love to hear about them.
Thanks for reading
Sarah 🙂


It looks very special with jewels and gold paint #FabFridayLinky
LikeLiked by 2 people
Thanks
LikeLike
This turned out great!!
#FabFridayPost
Jodie
http://www.jtouchofstyle.com
LikeLiked by 1 person
Thanks 🙂
LikeLike
Ohh, I haven’t played with paper mache in years!
LikeLiked by 1 person
Have fun with it if you decide to try paper mache again!!
LikeLike
That is one craft I have never tried with my boys. I don’t have fond memories of paper mache from school and I have been trying to avoid it. Looks like he had a lot of fun!
LikeLiked by 1 person
Some things just don’t work for us and that’s totally ok! My son loves the end result 🙂
LikeLike
Ah that’s lovely! I will have to revisit paper mache after the baby is born! #fabfridaypost
LikeLiked by 1 person
Yes best to wait till your next bundle of joy arrives!
LikeLike
Looks fab love the jewels very special a great way to spend an afternoon #fabfridaypost
LikeLiked by 1 person
Yes the glass beads are a nice touch!
LikeLiked by 1 person
Oh Wow! This is so cool! His very own trophy! 🙂 #FabFridayPost
LikeLiked by 1 person
🙂
LikeLike
Oh, my girls will be getting out the glitter! Look out! What fun! #FabFridayPost xoxo
LikeLiked by 1 person
Ahhhhh glitter!
LikeLiked by 1 person
Usually when it takes too long to finish a project, we end up forgetting about it. Great work with the goblet!
#FabFridayPost
LikeLike