
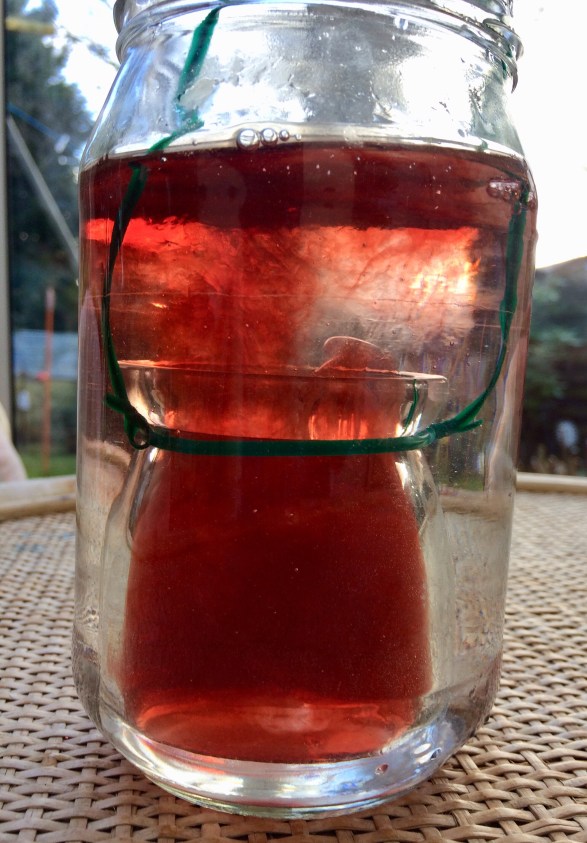
Being able to do this activity is all about having the right size and shaped containers. Having said that, our small jar was far from perfect, right size but the shape was a little off! A small jar with a narrower neck or a very small bottle would have been more effective.
For this volcano, you will need a large glass jar, a smaller glass bottle, wire, red food colouring and hot and cold water. Tie some wire around the small glass bottle so that it can be picked up without having to hold the glass.

Pour cold water into the large glass jar so it’s about 2/3 full. Fill the small glass jar with hot water and add a teaspoon red food colouring. Z went a bit over the top with the food colouring as she poured it in!
 Carefully place the small jar into the large jar and watch the water volcano erupt. This happens super quickly so you (or the children) may want to do this a few times. This volcano shows how cold and warm water mix. The hot water expands, taking up more space. It is, therefore, lighter than cold water and rises to the surface.


We found this activity in My First Science Book it’s full of 23 really simple, doable science experiments that can easily be done at home. Well worth getting for any young science enthusiasts.
Have you done any volcano experiments? I’d love to hear about them. Please comment below.
Thanks for reading
Sarah 🙂
*This post includes affiliate links (see disclaimer)
